
Home Roasting Coffee Beans: Unleash the Ultimate Flavour in Your Cup
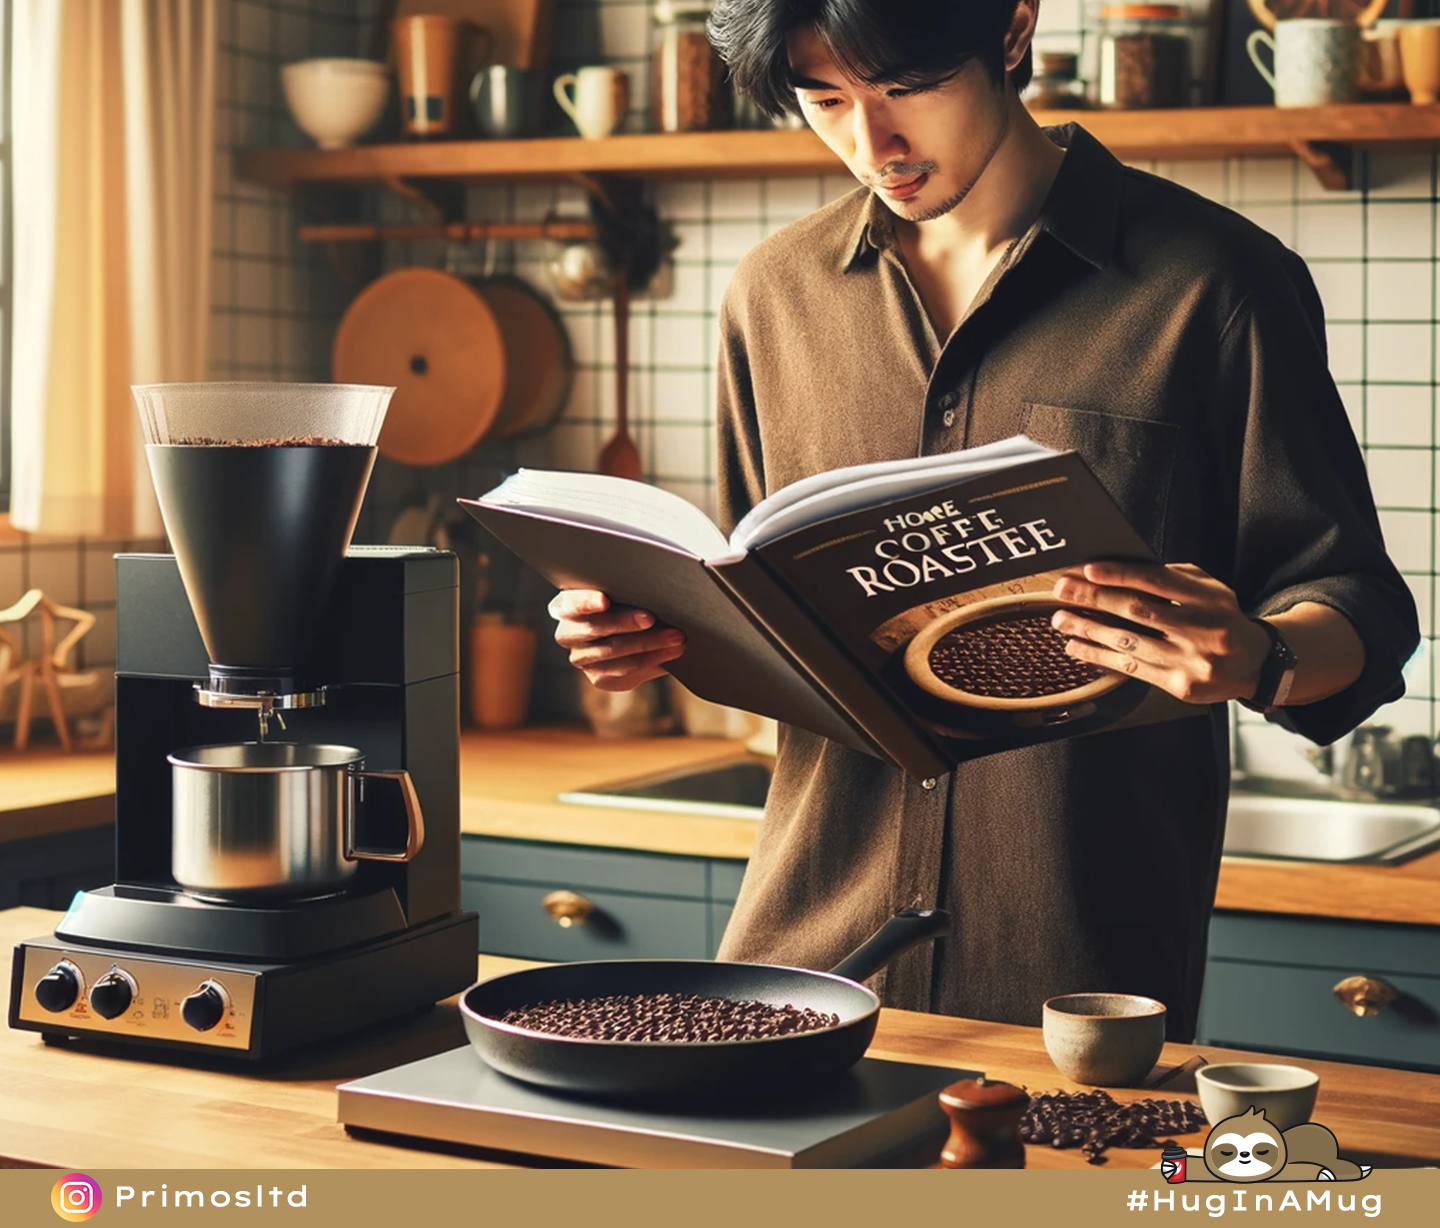
Coffee lovers, unite! Today, we’re embarking on a flavourful journey — home-roasting coffee beans. If you’re looking to elevate your morning cup to a sensory delight, you’re in the right place. Imagine inhaling the aroma of freshly roasted beans, a scent that fills your kitchen and heralds the start of a new day. This is not just about coffee; it’s about crafting an experience.
Topics
-
Why Roast Coffee Beans at Home?
-
The Basics of Coffee Bean Roasting
-
Choosing Your Beans
-
The Home Roasting Equipment
-
The Roasting Process
-
Experimenting with Roast Profiles
-
Storing Your Roasted Beans
Why Roast Coffee Beans at Home?
Roasting coffee beans at home is more than a process; it’s a ritual. It’s about taking control of your coffee destiny. Store-bought beans? They’re fine. But home-roasted?
That’s a new realm of flavour. Each bean you roast carries your signature – a taste that’s uniquely yours.
“In the comfort of your own home, each coffee bean you roast brews a tale of aroma and flavour, unique as a fingerprint, telling stories of lands far away right in your cup.”
The Basics of Coffee Bean Roasting
Before diving in, let’s set the groundwork. Coffee roasting is a heat process that turns green, unroasted coffee beans into the brown beans we know and love.
This transformation happens through a series of chemical reactions. When you roast your beans, you’re a chemist, an artist, and a chef all rolled into one.
Choosing Your Beans
Your roasting journey starts with choosing the right beans. Look for green coffee beans from reputable sources.
They come in various flavours and profiles, depending on their origin, variety, and processing method.
Experimenting with different beans is part of the fun!
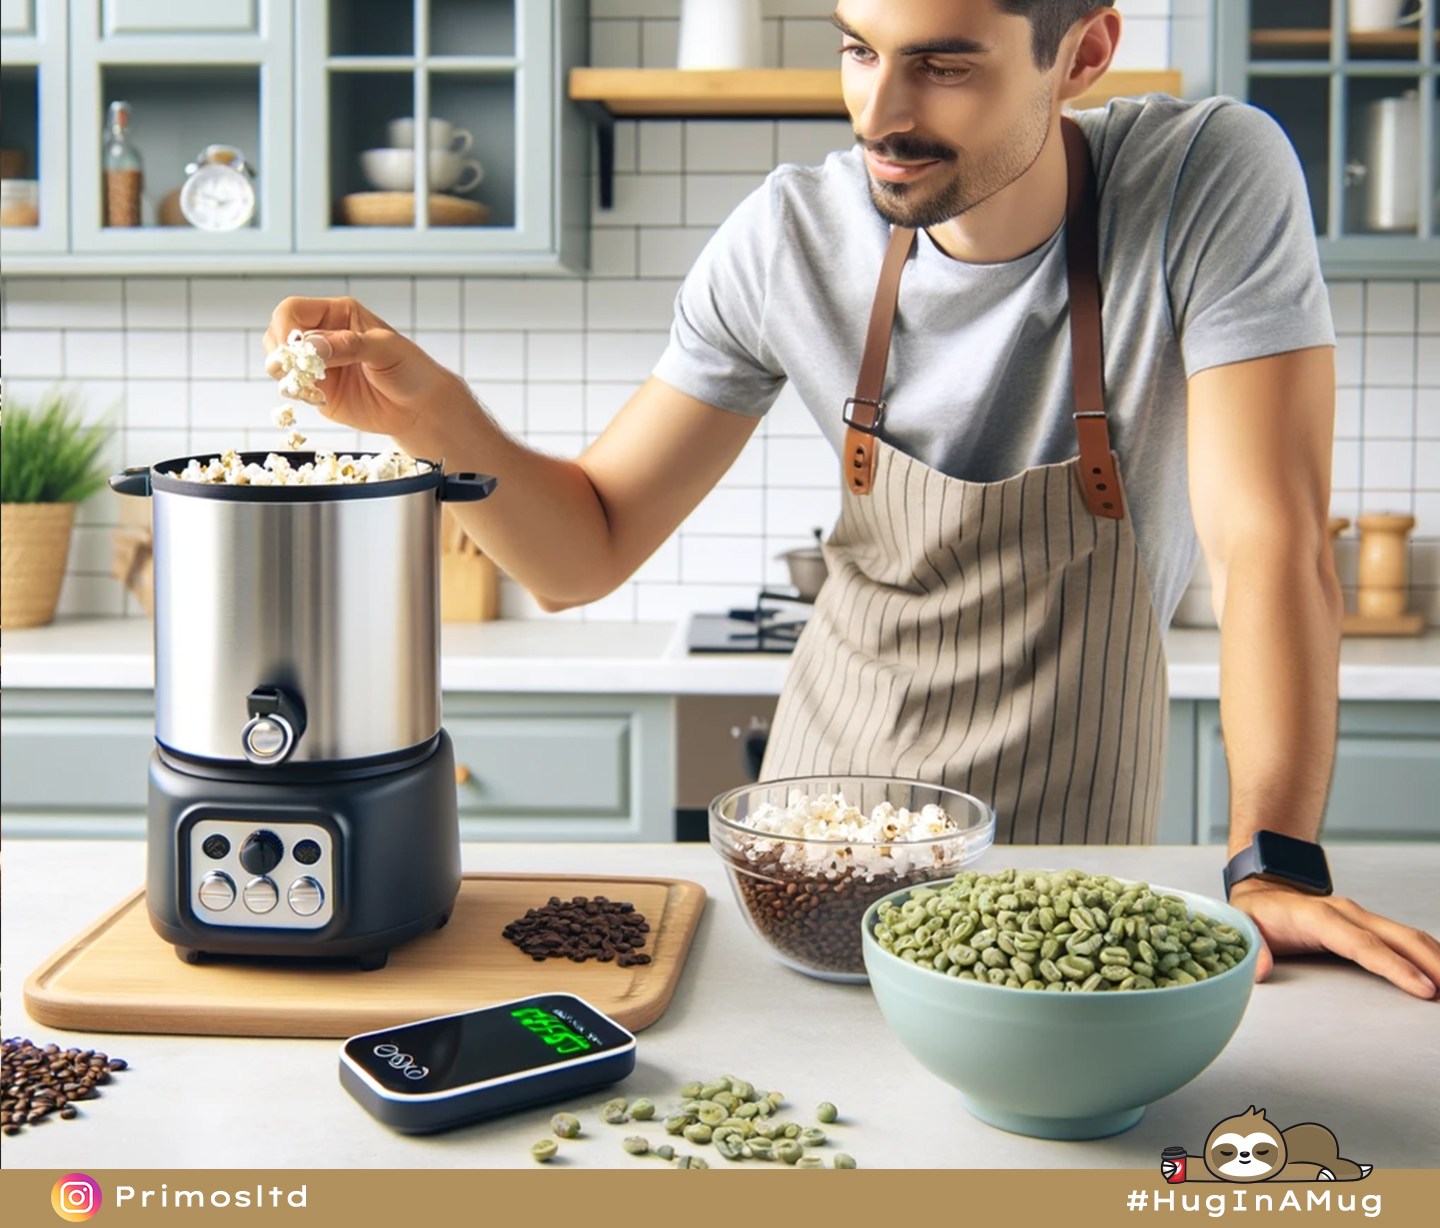
You don’t need fancy equipment to start. A simple skillet, a popcorn popper, or a dedicated home coffee roaster will do.
Each method has its nuances and offers different levels of control over the roast.
“Home coffee roasting is like turning pages in a world atlas, each bean a new destination, each roast a different journey. It’s not just about taste; it’s about crafting an adventure in every cup.”
Skillet Method
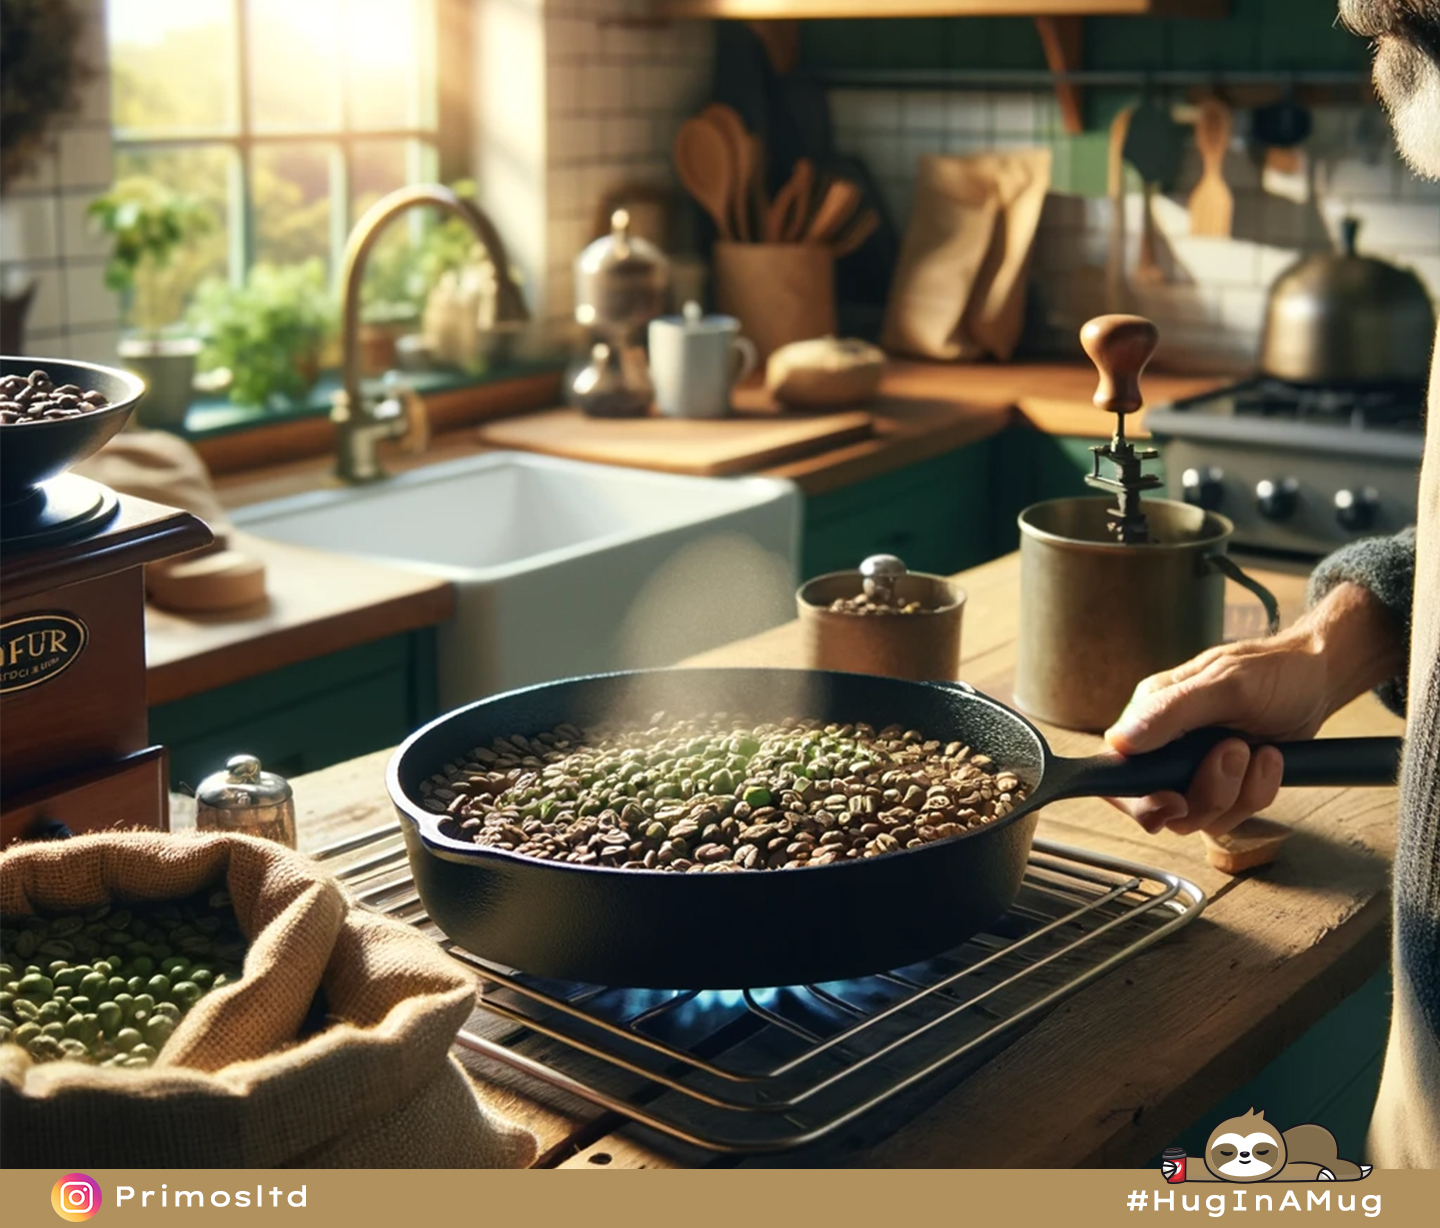
The skillet method is as rustic and hands-on as it gets. It’s ideal for those who love a tactile approach to coffee roasting. Here’s how you can master this method:
- Equipment: All you need is a heavy skillet, preferably cast iron, and a wooden spoon.
- Process: Heat the skillet over medium heat, add green coffee beans, and start stirring. The key here is constant movement to ensure even roasting.
- Monitoring: Watch for colour changes and listen for the ‘first crack.’ This indicates the beans are lightly roasted. Continue for a darker roast.
- Cooling: Once your desired roast level is reached, transfer the beans to a metal colander and stir them to cool down quickly.
Pros: It’s a simple and inexpensive way to start roasting. It also gives you a lot of control over the roast.
Cons: This method can be quite uneven and requires constant attention. It’s also a bit smoky, so good ventilation is necessary.
Popcorn Popper Method
A popcorn popper can be an unexpected but effective tool for roasting coffee beans. It’s a great way to get a more consistent roast than the skillet method.
- Equipment: A hot air popcorn popper. Make sure it’s the type that blows hot air through vents in the chamber.
- Process: Add a small amount of beans to the popper. Turn it on, and the hot air will begin to roast the beans while constantly agitating them.
- Monitoring: Listen for the ‘first crack’ and decide how dark you want your roast. The process is usually quick.
- Cooling: Once roasted, cool the beans quickly in a colander or by spreading them on a baking sheet.
Pros: It provides a more consistent roast than a skillet and is quite entertaining to watch.
Cons: You can only roast small batches, and not all popcorn poppers are suitable for coffee roasting. Also, the lack of temperature control can be a limitation.
Home Coffee Roaster
For the dedicated enthusiast, a home coffee roaster is a game-changer. It’s a more substantial investment but offers the greatest control and consistency.
- Equipment: A dedicated home coffee roaster, which comes in various sizes and with different features.
- Process: Add beans to the roasting chamber, set your desired temperature and time, and start the roast.
- Monitoring: Many roasters have a window or a chaff collector, allowing you to watch the roast progress and make adjustments.
- Cooling: Most roasters have a built-in cooling cycle, which is crucial for stopping the roast at the right time.
Pros: It offers precise control over every aspect of the roast. It’s also cleaner and can handle larger batches than the other methods.
Cons: The initial cost is higher, and there’s a learning curve to understanding the roaster’s settings and capabilities.
The Roasting Process
Roasting coffee at home is an art. It involves:
- Preheating: Start with a preheated roaster or pan.
- Roasting: Add the beans. They’ll go through stages – green, yellow, first crack (a popping sound indicating the beans are roasting), and second crack (a lighter crack, for darker roasts).
- Cooling: Once you reach your desired roast, cool the beans quickly to stop the process.
- Resting: Let the beans rest for a day or two. This allows the flavours to develop.
Experimenting with Roast Profiles
Roast profiles vary from light to dark. Light roasts retain a more original bean flavour, while dark roasts have a fuller body and less acidity.
The beauty of home-roasting coffee beans is in experimenting to find your perfect profile.
Storing Your Roasted Beans
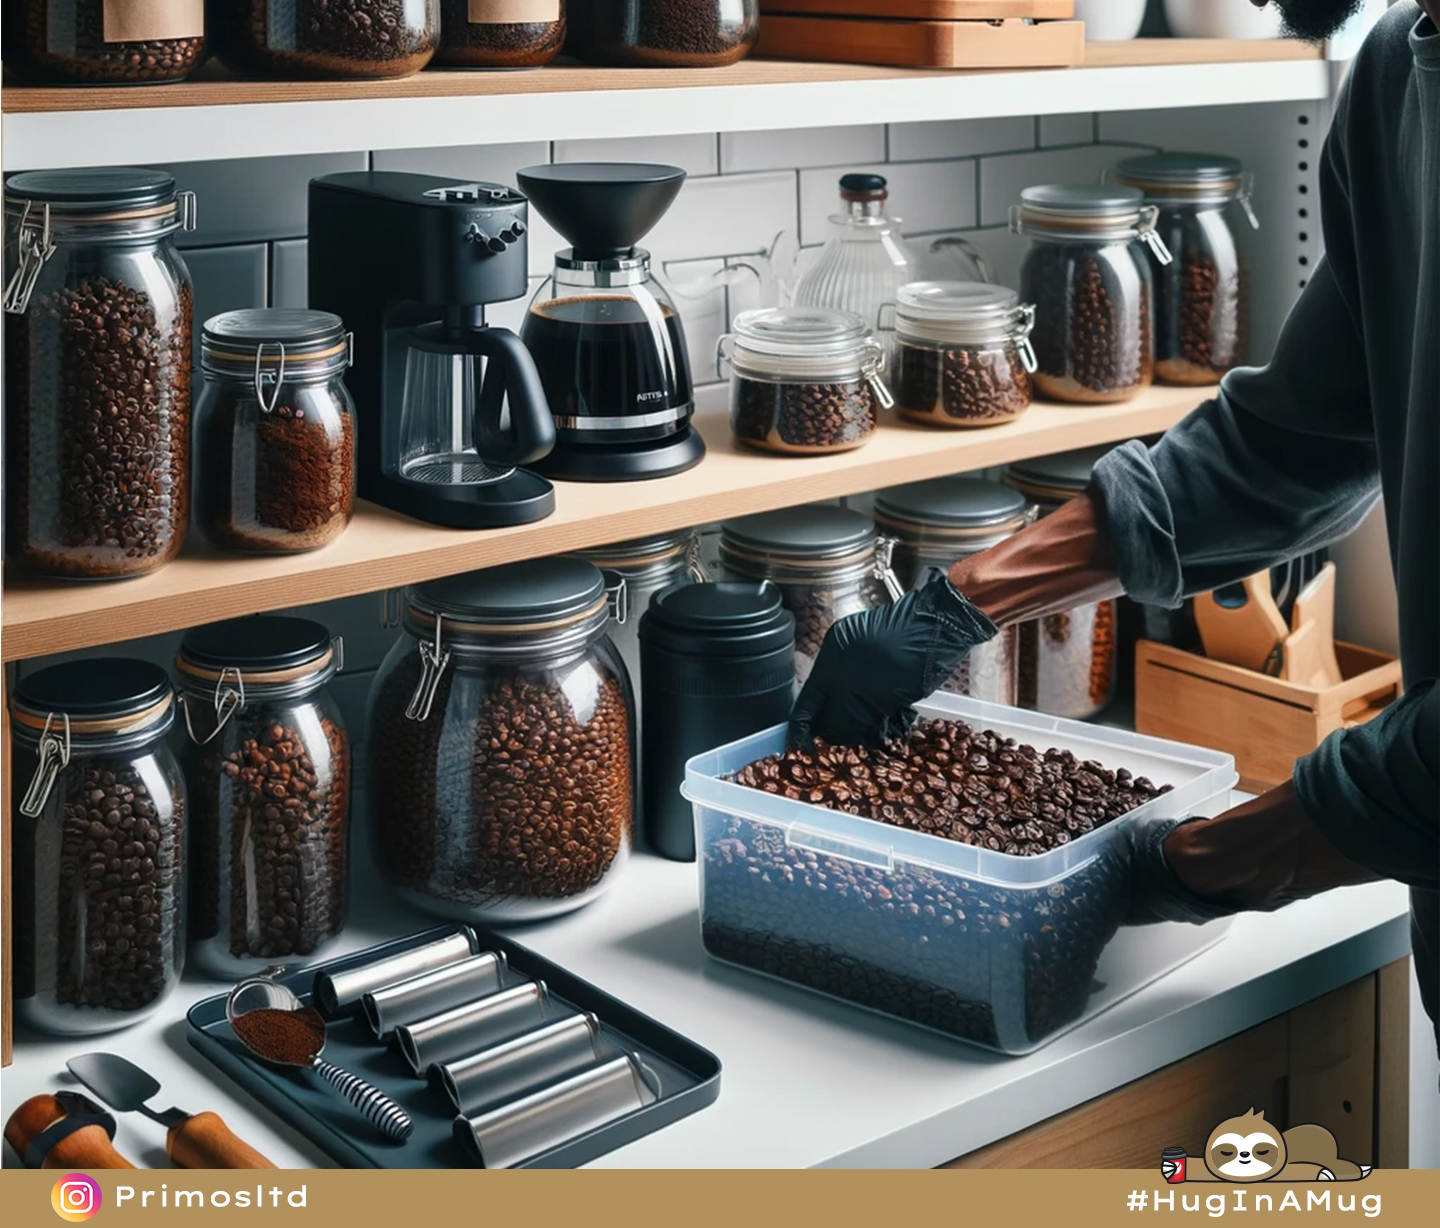
Store your beans in a cool, dark place in an airtight container. Freshness is key in coffee, so roast in small batches to enjoy the beans at their peak.
The Ultimate Reward: Brewing Your Roasted Beans
Now, the best part — brewing your own roasted beans.
The flavour is richer, and the aroma is more vibrant. It’s not just coffee; it’s a cup of your own making.
Tips for the Best Home Roasting Experience
- Start Small: Begin with small batches to experiment.
- Keep Notes: Track your roasts to refine your technique.
- Safety First: Roast in a well-ventilated area and be mindful of hot equipment.
- Patience is Key: Roasting is a skill that improves with practice.
Fun Fact:
Did you know that the “first crack” during coffee bean roasting is actually a physical reaction?
When coffee beans are heated, the moisture inside them turns to steam, building up pressure. This pressure eventually causes the beans to expand and crack, much like popcorn popping.
This “first crack” is a crucial milestone in the roasting process and is often used by roasters to gauge the development of the roast. It’s fascinating to think that one of the key moments in creating the perfect coffee flavour comes down to a simple yet dramatic physical reaction within the bean!
Conclusion
Home roasting coffee beans is more than a hobby; it’s a journey into the heart of what makes coffee magical. It’s about personalisation, experimentation, and, most importantly, enjoyment.
As you sip your perfectly roasted cup, remember: this isn’t just coffee; it’s a reflection of your passion and creativity.